If you were searching for how to felt your shed roof you’ve arrived at the right place as we have put together the ultimate guide on how to do this in five easy steps. Laying felt onto a shed or even a garden room is one of the most DIY-friendly ways of solving the roofing problem. Besides its practicality felt is a long-lasting material and can resist rough weather conditions popular in the UK such as heavy rain and wind. Should you have a shed with a gable roof or a shed that needs felt flat roofing solution or whether your shed is brand new or an existing shed that needs a new roof this step-by-step guide will help you achieve your DIY goal.
Health and Safety First
When people do smaller jobs such as laying flat on a shed tend to ignore health and safety and start the work without carefully considering important things first that can help prevent any injuries that may happen. Even if you fall from a low height you can suffer severe serious injuries. To avoid these you must ensure that the ladder’s position is stable and safe to use. Also, you should wear protective clothing such as a hard hat, safety shoes, safety goggles and thick gloves.
1. Preparation
Especially because you will be working on the roof you should check the weather forecast first and choose a dry day with a temperature of at least 5-10 degrees Celsius. As the felt comes in rolls you need to roll it out at least an hour before using it on a flat surface such as a patio. This will help flatten the felt so it will be easier to use.
2.Removing The Existing Felt
If you’re replacing the flat on an existing shed you should start to remove facias or wooden strips that may hold the felt in place. Using a large scraper and a floor scraper that has a handle is probably the best tool to use in the removal phase. Removing or banging down any nails that may stand out is crucial so the new layer of felt won’t get damaged. Carefully check any signs of damage in the wood and if there are any you should use wood filler to fill the gaps. Ultimately ensure that the surface is clean and dust-free and there are no loose pieces of wood.
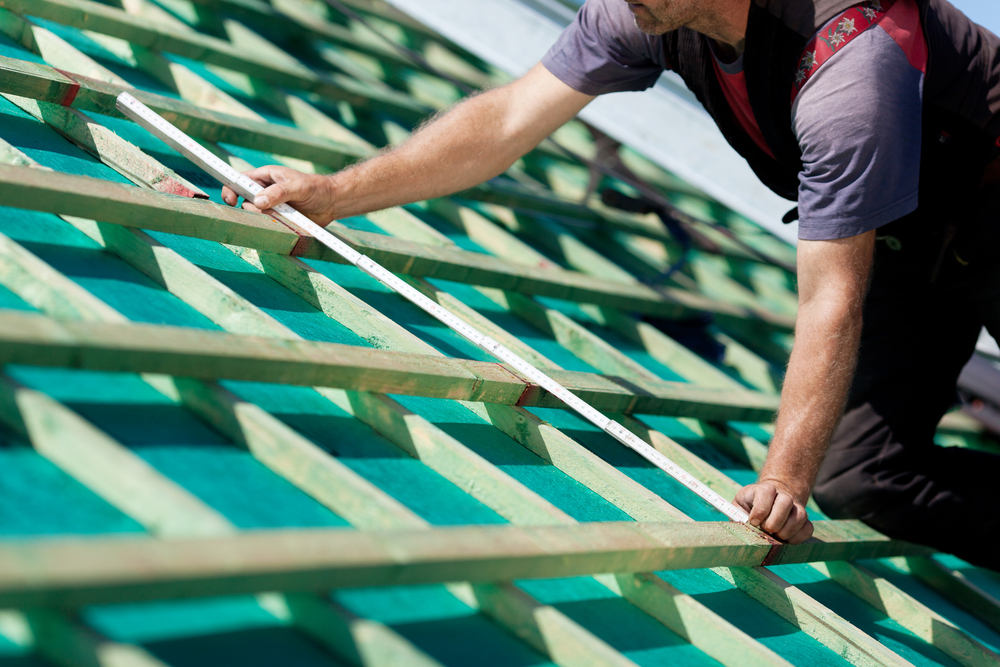
3. Cut The Felt to Size
By the time you have prepared the roof the rolled-out felt should already be ready to use. Carefully measure the roof and count an extra piece (4 inches or 10 cm) for effective coverage and use white chalk to mark where needs cutting. The cutting surface must be straight and solid and cut by using a large pair of scissors or a cutter. Try to cut at least pieces as possible for a neater and more compelling coverage.
Don’t forget the saying: Measure twice, cut once!
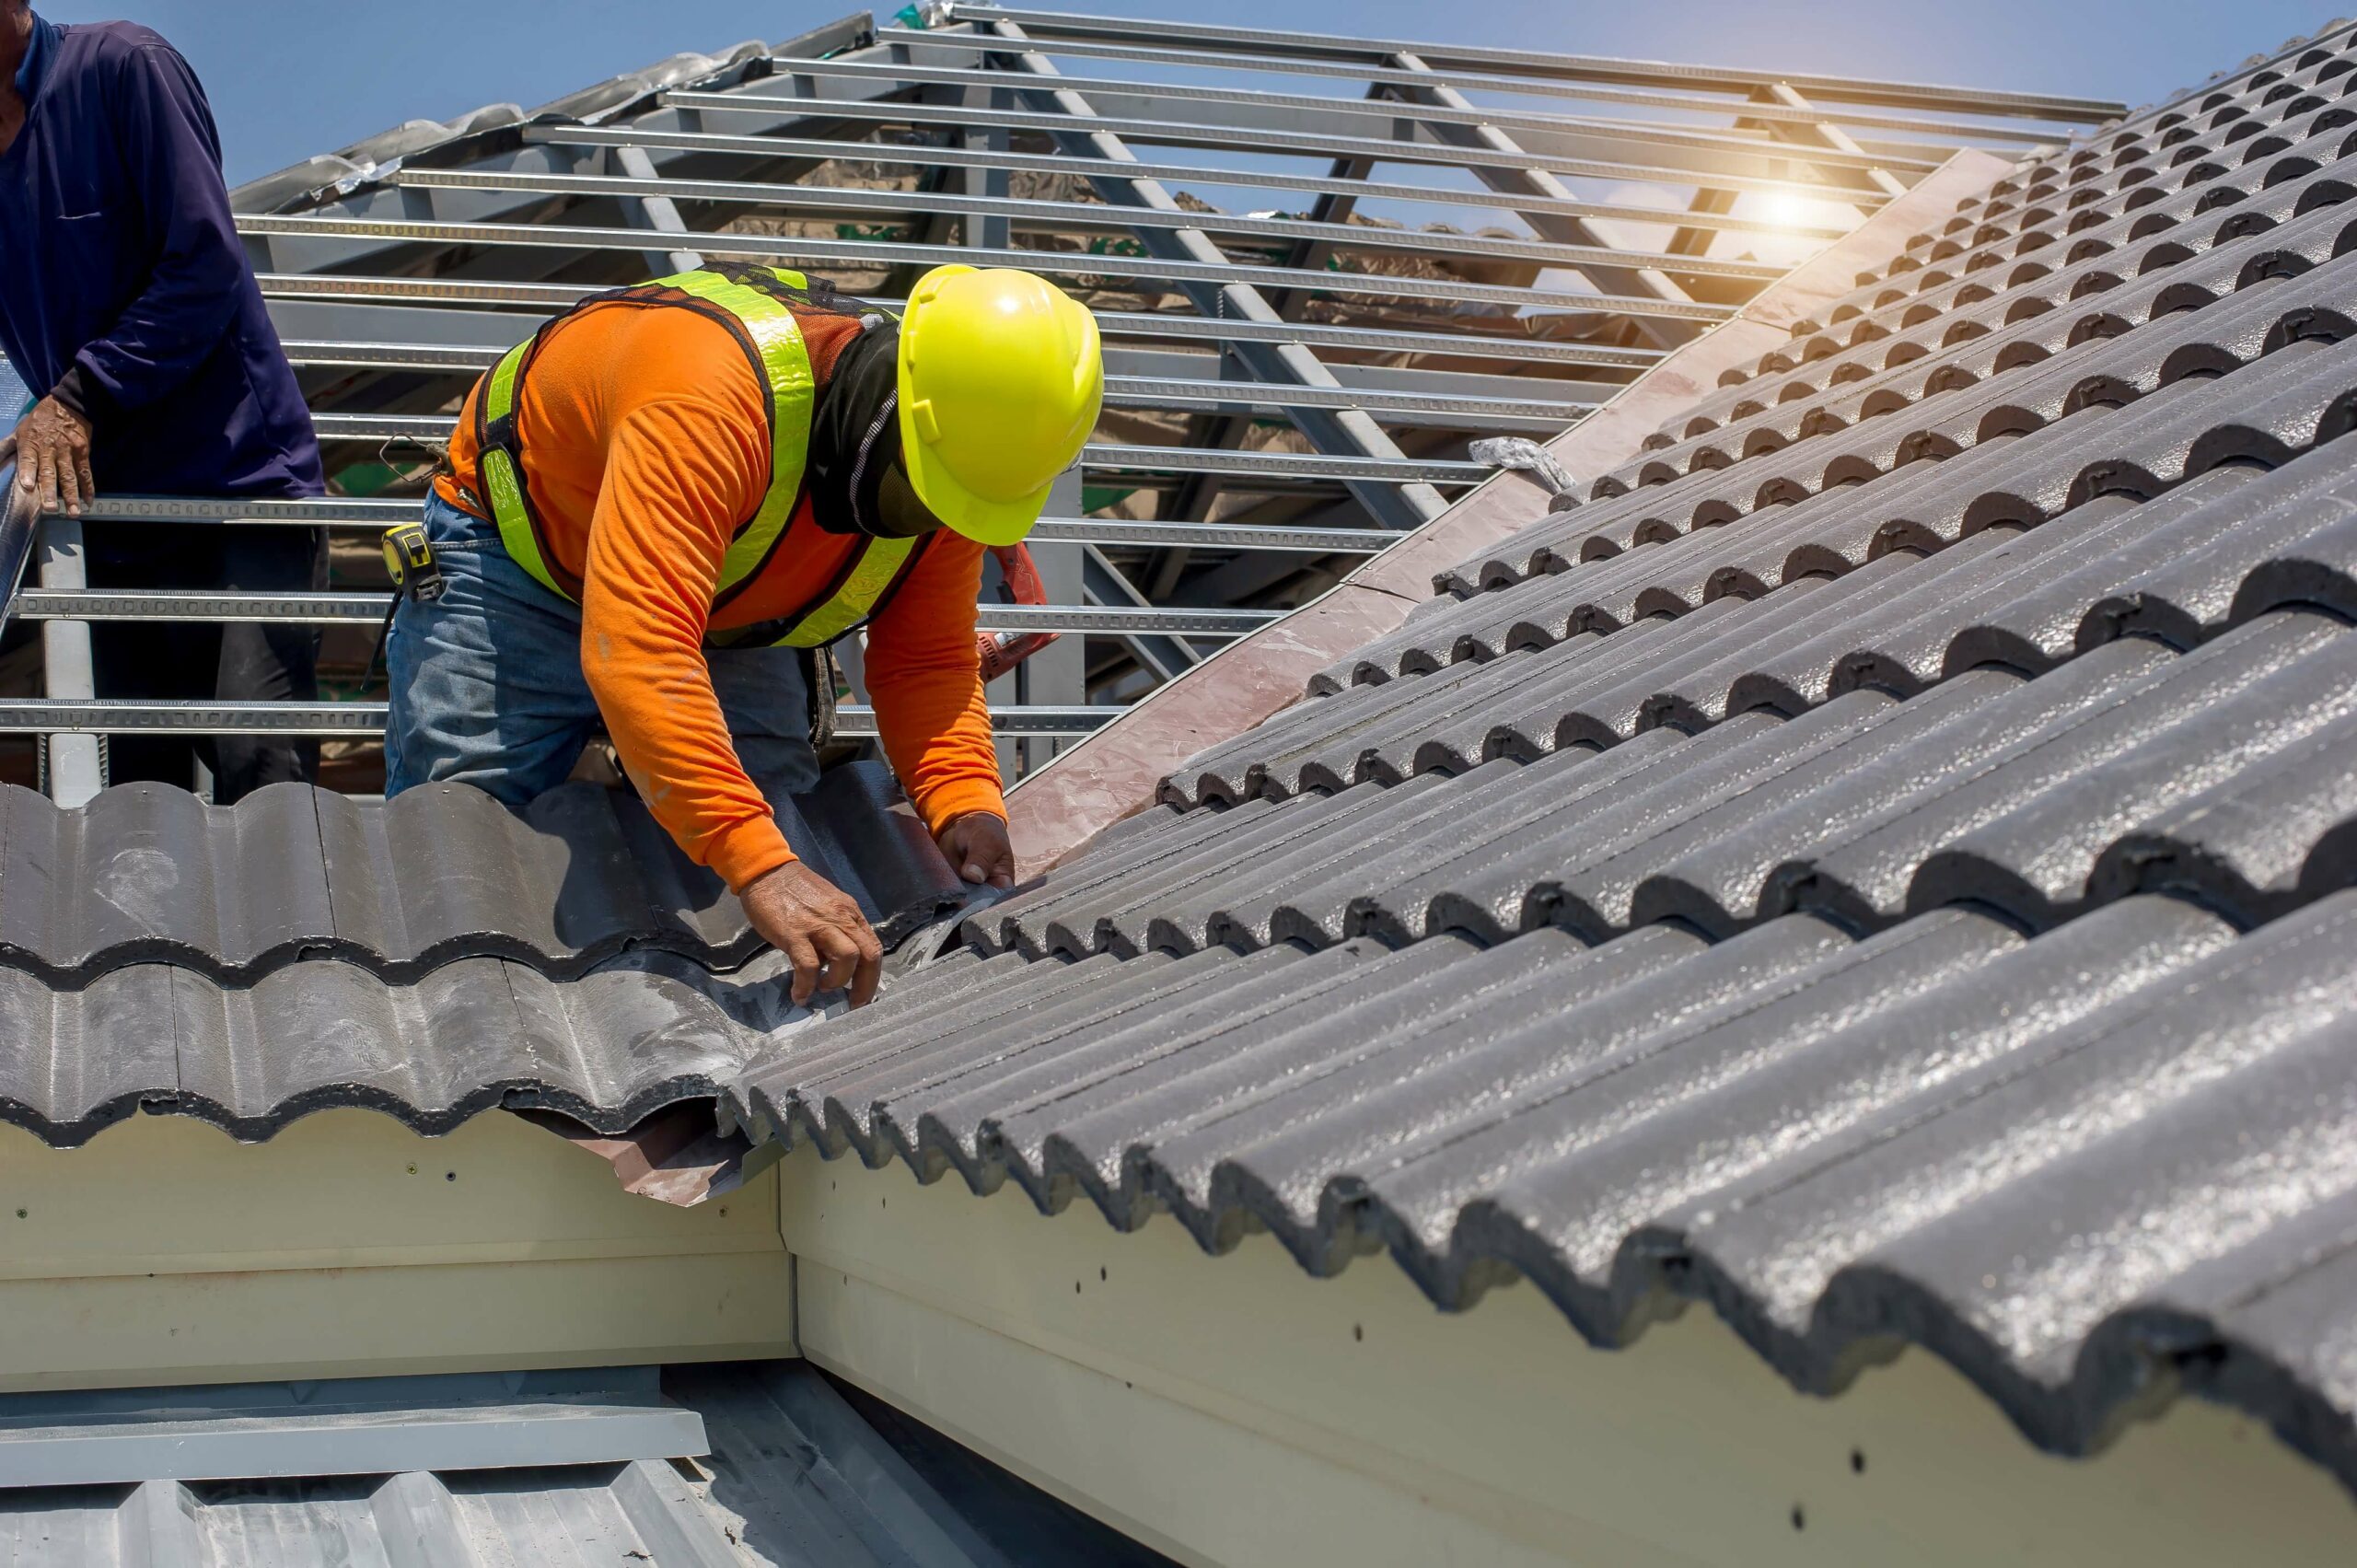
4. Secure The Felt
After you have finished cutting the felt to the size needed it is time to start laying them down and securing them to the roof. You must ensure that the excess you left is overhanging equally on each side. If you’re working on a flat roof or slanted roof you must ensure that the pieces of felt are overlapping so there is no space will remain uncovered. If your shed has a gable roof you must start from the bottom to secure the felt.
5. Fix New Fascias or Timber Strips
So now that you have secured the felt and are in its final position it is time to do some final touches so your newly installed felt roof will look aesthetically appealing. For a gabled roof or slanted roof install fascias to the front of the shed and wooden strips to the side and back, for a flat roof use fascias all around.
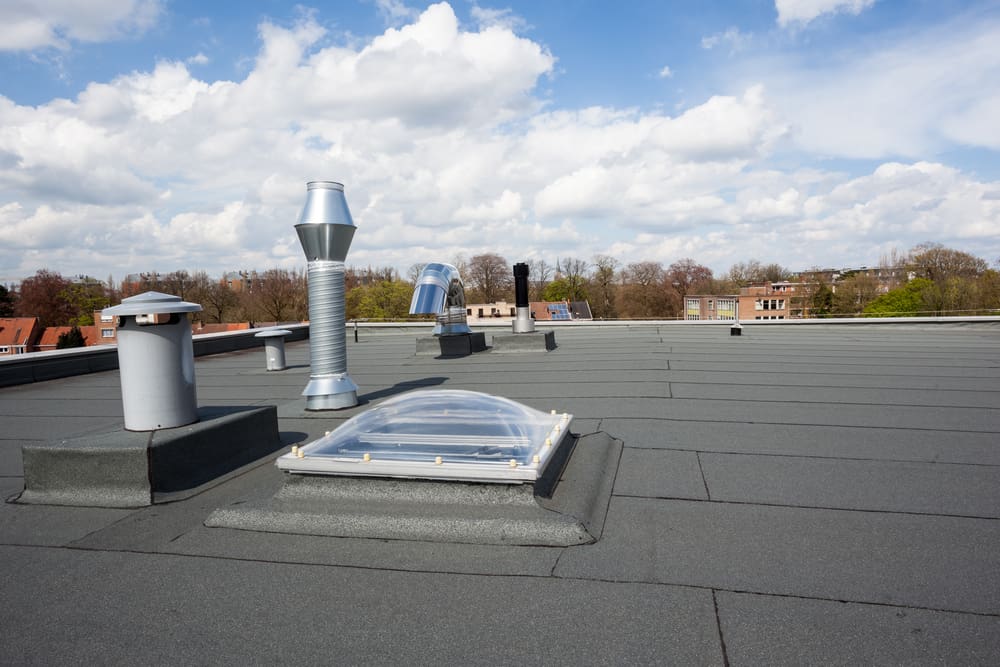
Conclusion
Now that you’re up there and have completed this felt roofing project you should also consider checking whether your guttering needs maintenance. A clean gutter is crucial so the water can be drained properly from the roof, thus the lifetime of the shed can be extended. Also, if you’re looking to have lighting in your shed how about installing a solar panel on the newly installed felt roof? But this is a story for another blog post.